Hiiiiii. I'm back.
Bry's birthday, being on the top of my favorite holidays list, makes me excited every year to give him lots of surprises. I love planning things for him that I know he'll love, and I love gift-giving.
To start off, I have to say I’ve never felt like I’ve lived it up so much
in one summer- when Bry and I had even a half hour of free time,
we’d use it. Since his birthday is always at the end of summer, I thought we'd go out with a bang. We celebrated it last Saturday, and while he had his early
morning soccer game, I went wild getting ready with everything before he got
home.
Streamers, balloons, golf clubs and a round of 9 holes
While we were golfing, I hid my first clue in his bag letting him know what was next after we were done. With each clue, I included a note to him from a family member. (For those who are reading this and don’t know, I asked each family member in our entire family prior to Bry's birthday to write a note telling why they each loved Bry...then I compiled them with the clues so he could read them throughout the day.) Bry LOVED reading those notes throughout the day, so thanks to you all for your words!
Each clue led to somewhere or something else, where he
either unwrapped a present or was given a surprise. They led us to Porcupine Grill for dinner, and eventually up
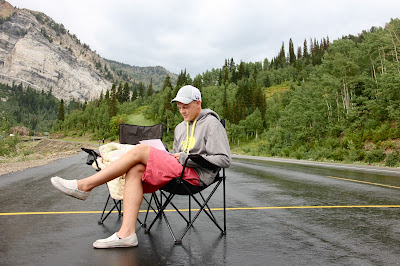
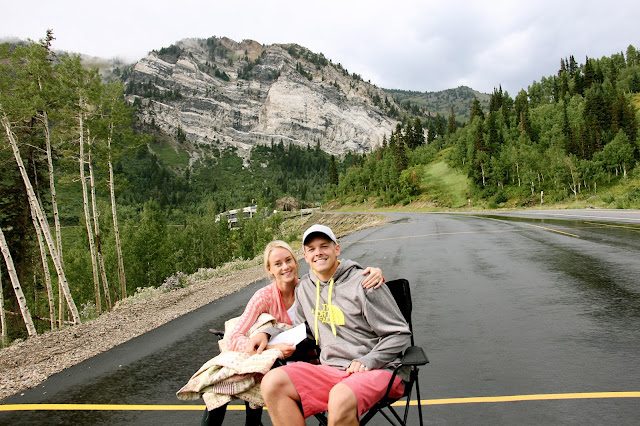
Little Cottonwood Canyon to a spot right above Snowbird.
That’s where I let him unwrap my favorite gift... I have been working for a long time on writing him our love story in the format of a children’s book. (directions at the very bottom of this post)
I did the illustrations child-like similar to the children’s book author/artist Eric Carle (who wrote “Brown Bear, Brown Bear, What do you See?” if that rings any bells...?) I hope to be able to read to our kids, grandkids, and for something for them to know how we met, and how we fell in love. I have been so excited to finally read it to him! (pics below)


He ended up l o v i n g it, and I may or may not have cried when I read it to him. :) I've always felt like our love story played out just like a storybook, so that is exactly what I made it into.
So, the story continues:
I tricked him by going up there because he thought we were
heading back down the canyon, until I turned into Entry 3 at Snowbird and said,
“Well, I thought if we came all the way up here, we’d just have to stay the
night here too.” He looked soooo surprised/confused, and I told him I had
booked a room at the Snowbird Lodge for us to stay through the weekend. I had secretly packed his backpack with
everything he would need, and hid it in the trunk. I love surprising him and watching his reaction. It’s one of
my favorite things.
We had the best weekend with a room that had the most
beautiful mountain view. We spent our time swimming, hot tubbing, hiking, a
tram ride to 11,000 feet, drinking hot chocolate on our balcony, celebrating
his birthday, wandering through Oktoberfest, going on walks, sleeping in,
watching the REAL game, and soaking in the last days of summer.
It really was the best weekend with my
favorite boy. I love him so much,
and can’t believe we started dating two years ago YESTERDAY. Time is sure
flying by!
HOW TO MAKE AN ERIC CARLE PICTURE BOOK
What you'll need:
1. an empty book. you can find these usually at any arts and crafts store, sometimes target, or other places.
2. lots of tissue paper
3. acrylic paint
4. glue sticks
5. modge podge
6. large sponge paint brush
Start by getting a large sponge paint brush and cover each tissue paper with a color you think you'll need. I painted probably 16 tissue papers with the general colors, and some with multiple color tones and shades on them. Eric Carle adds texture to his tissue paper, and you can definitely do that- mix colors, get a toothbrush to flick different colors on, do polka dots...be creative! This can be more time consuming than you think, but you could always have someone help with this part! If you're a mom, get your kids to help. :) This is the kind of painting you can let them "go at it!" Once you're done and the pages have dried, you'll be eager to get cutting.
I started with writing our story in the format of a simple child story. I did all the typography by hand, but if that's not your thing... just type the story out and paste it on! Then, I began the art.
I didn't trace anything before cutting... I'm kind of a "wing it" type. But feel free if it makes you feel more confident. I like just going for it because it ends up looking a little more childish, which was my goal. So DON'T be a perfectionist on this project... it ends up being more fun if you leave the rough edges around. Once you're satisfied with what you've cut out, glue it on. After your picture is complete, modge podge one page at a time. This can take several days, depending on the size of your book, just to make sure each page is dry.
SUPER fun project, takes a lot of time, wayyyy inexpensive, and pretty awesome. Good luck! I'd love to see what you come up with!
xo
m


that book is AMAZING!!! what a neat gift!
ReplyDeleteThanks so much Kylee! It was so fun to make!
DeleteYou are amazing, Meg. I am so impressed by everything you do. You're basically perfect.
ReplyDeleteGinger, you are the sweetest! I just visited your blog, and loved it! You are such a great writer. Hope life is well for you two lovebirds. xo
DeleteThis comment has been removed by the author.
ReplyDeleteummmmmm, i am dying right now. cutest thing i have EVER seen! meg! you are one darling wife and this is a keepsake forever! obsessed. xoxoxo
ReplyDeleteYou are so cute! It is definitely a treasure, and I'm excited to read it to my kids one day. :) Hope life is going great with school starting back up again! xo
DeleteThis comment has been removed by the author.
ReplyDeleteWow this is the cutest!! I might have to try and make one.
ReplyDeleteThanks Amanda! Your blog is darling! You should definitely try to make one! It was so fun to make. If you happen to, give me a shout out and I'd love to see it!
ReplyDeleteWOW!! WOW!! WOW!! Meg... you are truly amazing! What a great keepsake for Bry and what an incredible sweet young woman you are! Bryson is lucky to have you as a wife, and sweetheart! You are truly an inspiration! I am in constant awe by your talents, your beauty and your skills and blessings you have been given! You are awesome and incredible! Thanks for sharing your book! Now, if you'll excuse me, I gotta go and find a tissue while I wipe all the tears off my face! That was THE CUTEST THING IN THE WORLD!!! SERIOUSLY!!! AMAZING!! I sure love you two and happy to be a part of your family!! Hugs and kisses!!
ReplyDeleteSibber, you are the sweetest! I just read your comment and it made my entire day! It definitely is a treasure for both of us to have so we can share it one day with our kids and loved ones. I love you so much and I'm so glad I'm a part of the family. Best fam in the whole world! xoxo Hope to see you soon.
DeleteThis comment has been removed by the author.
ReplyDeleteARE YOU KIDDING ME?! THIS IS THE CUTEST THING IN THE ENTIRE WORLD! YOU ARE SO TALENTED! LOVE IT!
ReplyDeleteThanks so much Mads! Love you!! xo
DeleteI have LOVED reading your blog!! This is seriously so cute. I will have to make it my new project :) thanks for sharing your ideas!!!
ReplyDeleteAh, thanks girl! You totally should do it- definitely worth it. Xo
DeleteWhat a beautiful idea. It made me think about how me and my husband met. I am going to create one for his 40th birthday. I wish you all many more wonderful memories together.
ReplyDeleteThank you so much! You are so kind.
Delete